Got some old timber lying around? With a simple wood finish, you can transform old dull pieces into something truly spectacular - just like Crockers Paint & Wallpaper Managing Director Shaun did, with his now slick and stylish pool decking.
In fact, it’s amazing how you can put old timber to good use just by applying a new wood finish.
Want to know exactly how he turned his weathered timber into the stunning decking feature you see below? Believe it or not, it was only a three step process involving a little preparation and a water based wood finish from Haymes.

Shaun’s mini poolside decking project completed with leftover slabs of timber
STEP ONE: SAND THE TIMBER
In preparation for the Haymes wood finish, Shaun needed to first sand the timber back. He used a dust-free sander from Mirka which is a great option when you want to reduce the amount of dust floating around in the air - and have less mess to clean up after.
Remember to always wear protective gear like gloves and safety glasses when sanding even with a dust-free tool like Shaun as a precaution.
Whatever you do, don’t be tempted to cut corners on this step. It may be a little more labour intensive, but sanding is one of the most important parts of wood restoration.
Not only does it remove scratches or surface damage, but it creates an even base on the timber so that you can get the best wood finish from your base and top coats.
Once Shaun had sanded each piece of timber he cleaned off the remaining dust residue with a damp cloth and left it to dry - which under the hot Australian sun really doesn’t take too long at all!
STEP TWO: ONE COAT OF PRIMER
Once dried, Shaun measured, cut and laid the deck. Then came the secret ingredient in this professional-looking timber restoration - a coat of primer!
In this instance, Shaun opted for the Haymes Woodcare UVEX Primer, a water based solution that provides adhesion, water repellency and mould and fungal protection. It also stabilises the timber surface to provide a beautiful foundation for the top coat.
While not always necessary to use a primer, in this instance the decking was being placed in a high exposure area, so for a longer-lasting wood finish it’s better to opt for it.
If you’re unsure whether a primer is needed for your timber restoration, come and visit us in-store at Crockers or give us a bell on the phone and we’ll talk you through the best products to choose based on the requirements of your project.

When sealed correctly, water should pool on top of timber rather than sink into it
STEP THREE: TWO COATS OF FINISH
Once the primer was dry the final step for Shaun was to apply two coats of the wood finish with a brush. He used the water based solution from the same range as the primer: Haymes Woodcare UVEX Finish Natural.
This is a great option for exterior use particularly when you’re treating cladding, decking, doors, windows, or outdoor furniture.
Why we love this product
The Haymes Woodcare UVEX Finish is a premium exterior wood finish that has increased UV barrier protection and is mould resistant. Best of all, it’s incredibly easy to use, requiring minimal maintenance but providing maximum impact.
The end result? A beautiful satin sheen that water beads off and a durable, natural-looking wood finish that will last a long time. That’s right, depending on exposure you could expect this wood finish to outlast a decking oil by one to two years - or more!
HOW TO CHOOSE THE RIGHT WOOD FINISH FOR YOUR PROJECT
Whether you go for a water based wood finish like Shaun did, or an oil-based stain depends entirely on the overall look you’re trying to achieve and the purpose of the timber.
Here at Crockers Paint & Wallpaper we’re experts at providing you with the right tools and products to transform your old weathered timber into something truly spectacular. Our exterior painting specialists can even walk you through the process step-by-step during one of our complimentary Crockers consultations.
Visit us in-store or book in for a free consult now and let’s work together to nail your next DIY project.
Featured In This Article

How to remove toxic mould and keep your family healthy
How to remove toxic mould and keep your family healthy

The ultimate guide to picking colours for your home
You don’t have to be a pro DIYer to give your home the ultimate makeover. To be fair, in most cases it just comes down to adding a bit of colour.
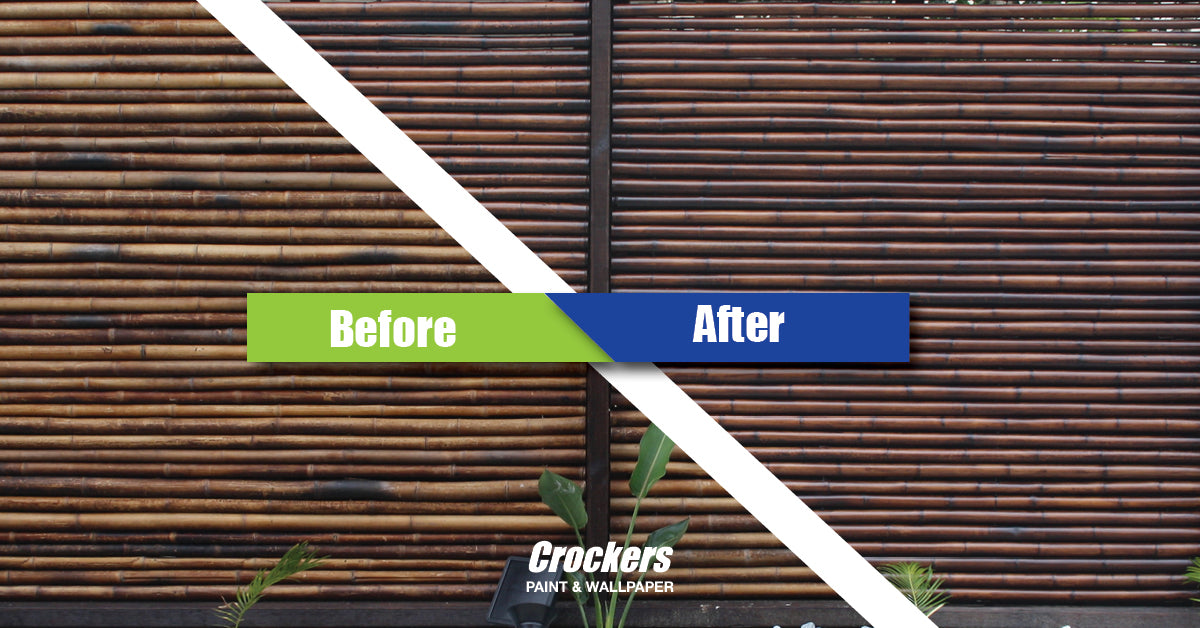
How to make the most out of your bamboo fencing
Bamboo fencing is a great option for your outdoor and exterior space at home. It’s a natural material, making it desirable for those looking to add a sustainable touch to their home.